Localization
How to Translate a Video With AI
Learn how to translate a video with AI: prepare the source, refine the translation, add dubbing or lip sync, review quality, and export.

LipDub Team

Quick Summary
To translate a video with AI, prepare the source, refine the translated script, generate a dub, add lip sync when a speaker is on camera, then review and export. Translation changes spoken dialogue; on-screen text needs its own edit.

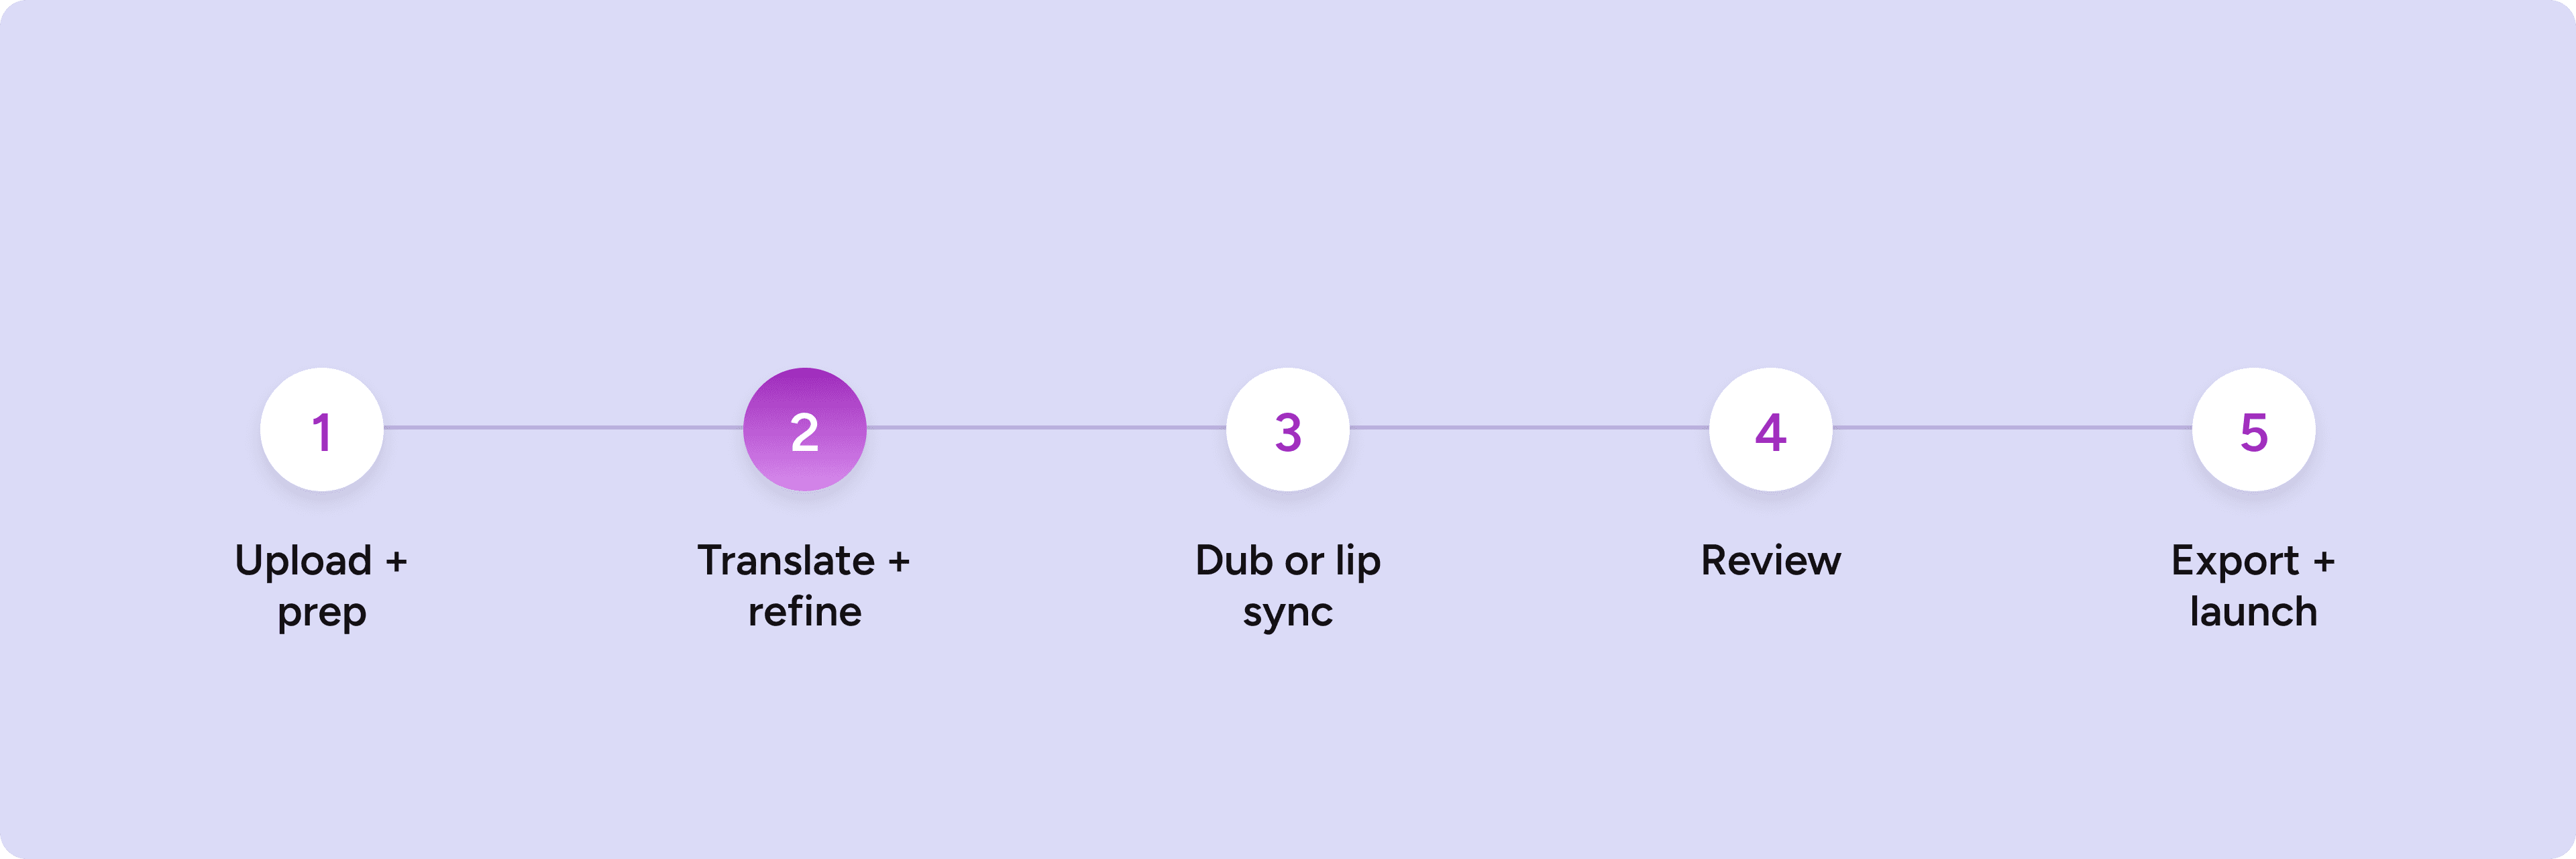
Translating a video with AI takes five steps: prepare the source video, translate and refine the script, generate the new voice track, add lip sync when the speaker is on camera, then review and export. The full pass takes minutes to hours depending on length, not the weeks a studio pipeline needs. The steps below cover each stage, including the two places where quality is actually won or lost: the script refinement before you generate, and the review after.
This piece covers the hands-on workflow, step by step. If you’re deciding whether to translate at all, or comparing methods and costs, start with our complete video localization guide and come back with a video.
Before you start: what makes a video easy to translate well
The videos that translate cleanly on the first pass share four key traits:
Clear dialogue. Clean speech, minimal crosstalk, music and effects that don’t bury the voice.
Usable audio. The better the source audio, the better the voice clone and the translation timing.
A visible speaker, if you want lip sync. Lip sync needs a face on camera to work with. Voiceover-only content just needs dubbing.
Content that’s ready for the market. If the video leans on local references, prices, or wordplay, decide what to change before translating, not after.
None of these are blockers, but each one you fix upfront saves a revision cycle later.
The five steps in AI dubbing run in order: prep the source, refine the translation, generate the voice and lip sync, review, then export. The first two are where the quality decisions live; generation is the fast part, and review is where you catch what slipped.
Step 1: Upload and prepare the video
Start from the highest-quality version you have, not a compressed export pulled off a platform. Pull the final approved script alongside it; you’ll want it to check the translation against. If the video has on-screen text (captions burned into the edit, end cards, supers), note that now: translation handles the spoken word, and on-screen text is a separate edit task that no translation tool covers.
Then upload to your translation tool. In LipDub, this is one upload; live-action, animated, and AI-generated footage all work.
Step 2: Translate and refine the script
This is the step that separates a passable translation from one that sounds like your brand. Machine translation gets the words right; refinement gets the meaning right. Four things to check on the translated script before anything generates:
Names and terminology. Product names, people, taglines. Decide what stays in the original language and what has an approved translation.
Tone and formality. Formal vs. informal address is a brand decision. Set it once and hold it.
Pacing. German runs long and Japanese runs short against the same English line, so trim where the translation overshoots the runtime.
Brand language. Claims and phrasing your legal or brand team has approved should survive translation intact.
In LipDub, the translation editor lets you refine any line before generating, and a custom prompt sets tone, formality, and word choice for the whole pass. Do this work on text, where a fix takes a minute, not on rendered video, where it costs a cycle.
“What I like very much about LipDub is that, for me, it’s the best product. When you translate, it adapts much better than the others. Most lip sync tools look obviously AI. This doesn’t.”
Step 3: Choose dubbing or dubbing plus lip sync
One question decides it: is the speaker’s face on camera?
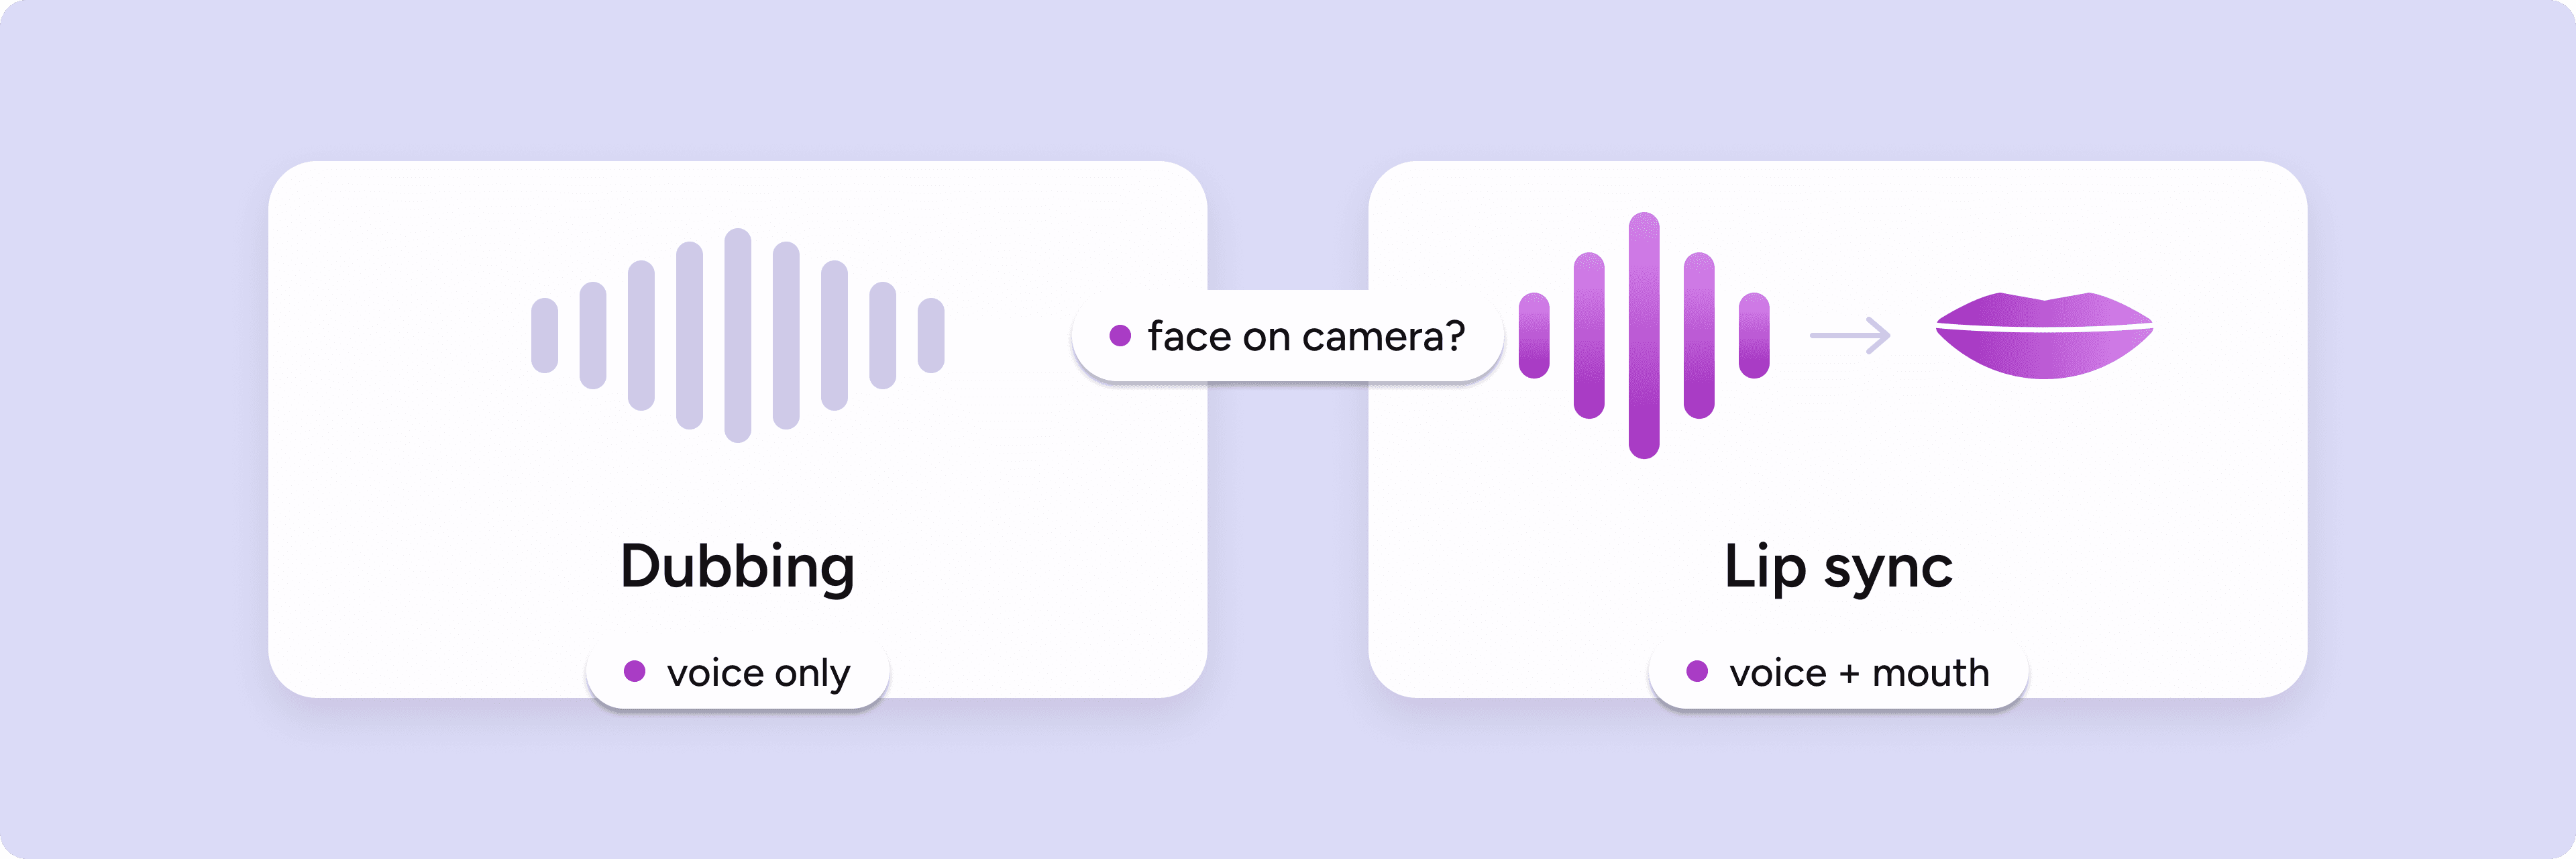
Dubbing (voice only) replaces the audio track in the new language. Right for voiceover-led content: product montages, screen recordings, animation, tutorials where the narrator is off-screen.
Dubbing plus AI lip sync (voice and mouth) also matches the speaker’s mouth to the new language, frame by frame. Right whenever the person on camera is the point, because mismatched lips break the illusion within seconds, while synced lips read as if the video was shot in that language.
For the voice itself, you can clone the original speaker so they sound like themselves in every language, choose from a voice library, or upload audio from your own voice actors and have the lips match that.
Step 4: Review the localized version
Review twice, with different eyes:
On the text, before generating: a native speaker checks translation accuracy, terminology, and tone against your script.
On the video, after generating: watch end to end at full resolution. Check pronunciation of names and numbers, voice energy against the original performance, sync holding through the whole runtime, and any on-screen text that still needs its edit-level fix.
If a line is off, fix it in the translation editor and regenerate that line, not the project.
Step 5: Export and launch
Export a market-ready version per language and ship each one natively: separate uploads, local titles and descriptions, correct language metadata. Then measure by market, not against your home numbers. Watch early drop-off and completion rate; if the translated version’s retention curve tracks the original’s shape, the translation is doing its job.
When translation is not enough
Translation converts what’s spoken. Localization adapts the whole asset: on-screen text, cultural references, examples, visuals, and market-specific details like prices or legal supers. A tutorial usually just needs translation. A flagship campaign usually needs localization. If you’re in the second bucket, the video localization guide covers the full scope, and the marketing localization playbook covers running it across campaigns.
How LipDub fits
The workflow above is LipDub’s product shape: upload the video, translate and refine every line in the editor, generate the dub with a cloned voice, your own voice actors, or a library voice, add lip sync when the speaker is on camera, and export broadcast-quality versions in 80+ languages. See the video localization page for the full feature set and pricing for per-minute plans.
FAQs
What is the difference between video translation and video localization?
Translation converts the spoken words into a new language. Localization adapts everything else too: on-screen text, references, examples, and market-specific details. Start with translation; step up to localization when the whole asset needs to fit the market.
Can I edit a translation before generating the video?
Yes. LipDub’s translation editor lets you refine any line before generation, and a custom prompt sets tone, formality, and word choice across the whole script.
When should I use dubbing instead of lip sync?
Use dubbing alone when the speaker’s mouth isn’t visible: voiceovers, montages, animation. Add lip sync when the person is on camera and their performance matters.
Can I translate a video with multiple speakers?
Yes. LipDub supports multi-speaker videos, with each speaker assigned their own voice.
How long does AI video translation take?
Minutes for short single-speaker videos, which run on LipDub 2.0, and roughly real time for long content: a 1-hour video processes in about 90 minutes.
What types of video are a good fit?
Anything with clear dialogue: live-action, animated, or AI-generated footage all work. The best results come from clean source audio and, for lip sync, a visible speaker.


